
You will write a program to print a two-dimensional table where each of the table cells contains a random color. Then, you will accept user clicks and determine in which square the click took place.
Create a new Python file named lab04b_1.py:
"""
    Program: CS 115 Lab 4b_1
    Author: Your name here.
    Description: This program draws a few rectangles and fills them.
"""
from graphics import *
from random import seed, randint
from time import clock


def random_color():
    # Don't worry about the internal details of this function.
    colors = ['blue', 'blue2', 'blue3',
              'green', 'green2', 'green3',
              'orange', 'orange2', 'orange3',
              'red', 'red2', 'red3',
              'purple', 'purple2', 'purple3',
              'yellow', 'yellow2', 'yellow3',
              'gray', 'gray2', 'gray3',
              'pink', 'pink1', 'pink2', 'pink3']

    return colors[randint(0, len(colors)-1)]


def main():
    seed(clock())  # Initialize random number generator

    top_left_x = 100
    top_left_y = 100
    width = 60
    height = 60
    # num_rows = int(input('Number of rows: '))  # commented out for now
    num_columns = int(input('Number of columns: '))

    window = GraphWin('Lab 4B', 800, 800)
    top_left_point = Point(top_left_x, top_left_y)
    bottom_right_point = Point(top_left_x + width, top_left_y + height)
    enclosing_rectangle = Rectangle(top_left_point, bottom_right_point)
    enclosing_rectangle.setFill(random_color())
    enclosing_rectangle.draw(window)

    window.getMouse()
    window.close()

main()
A few notes about this program.
When you have read this code, answer Question 6 in your writeup.
Extend the above program so that it prints a row of squares, each of which is
filled with a random color like the following image. In this example, the user has entered
10 for the number of columns.
Here are step by step instructions (a.k.a. pseudocode) for drawing this row of squares. You should translate these instructions to code inside your main() functions.
    for i in range(num_columns):
       # Calculate x-coordinate of the top left point of the current square.
       # When i is zero (the first time through the loop), x should be top_left_x.
       # When i is 1, x should be top_left_x + width.
       # When i is 2, x should be top_left_x + 2 * width
       # etc.
       x = # formula based on top_left_x, width, and i

       # Calculate the y-coordinate of the top left point of the current square.
       # For example, when y is zero, the value should be top_left_y.
       # Be careful! You may want to draw on a piece of paper.
       y = # formula based on top_left_y

       top_left_point = Point(x, y)
       bottom_right_point = Point(x + width, y + height)

       # Create a square using top_left_point and bottom_right_point
       # your code here - see example above

       # Fill the square with a random color
       # your code here - see example above

       # Draw the square in the window
       # your code here - see example above
Read this algorithm carefully. Test your code multiple times, and be sure it draws a row of randomly colored squares each time. The number of squares in the row should be the number specified by the user.
Create a new Python file called lab04b.py and copy and paste your previous solution into it. This will be the starting point for this part of your lab.
In this part, you will add the necessary code to your program to print the following grid.
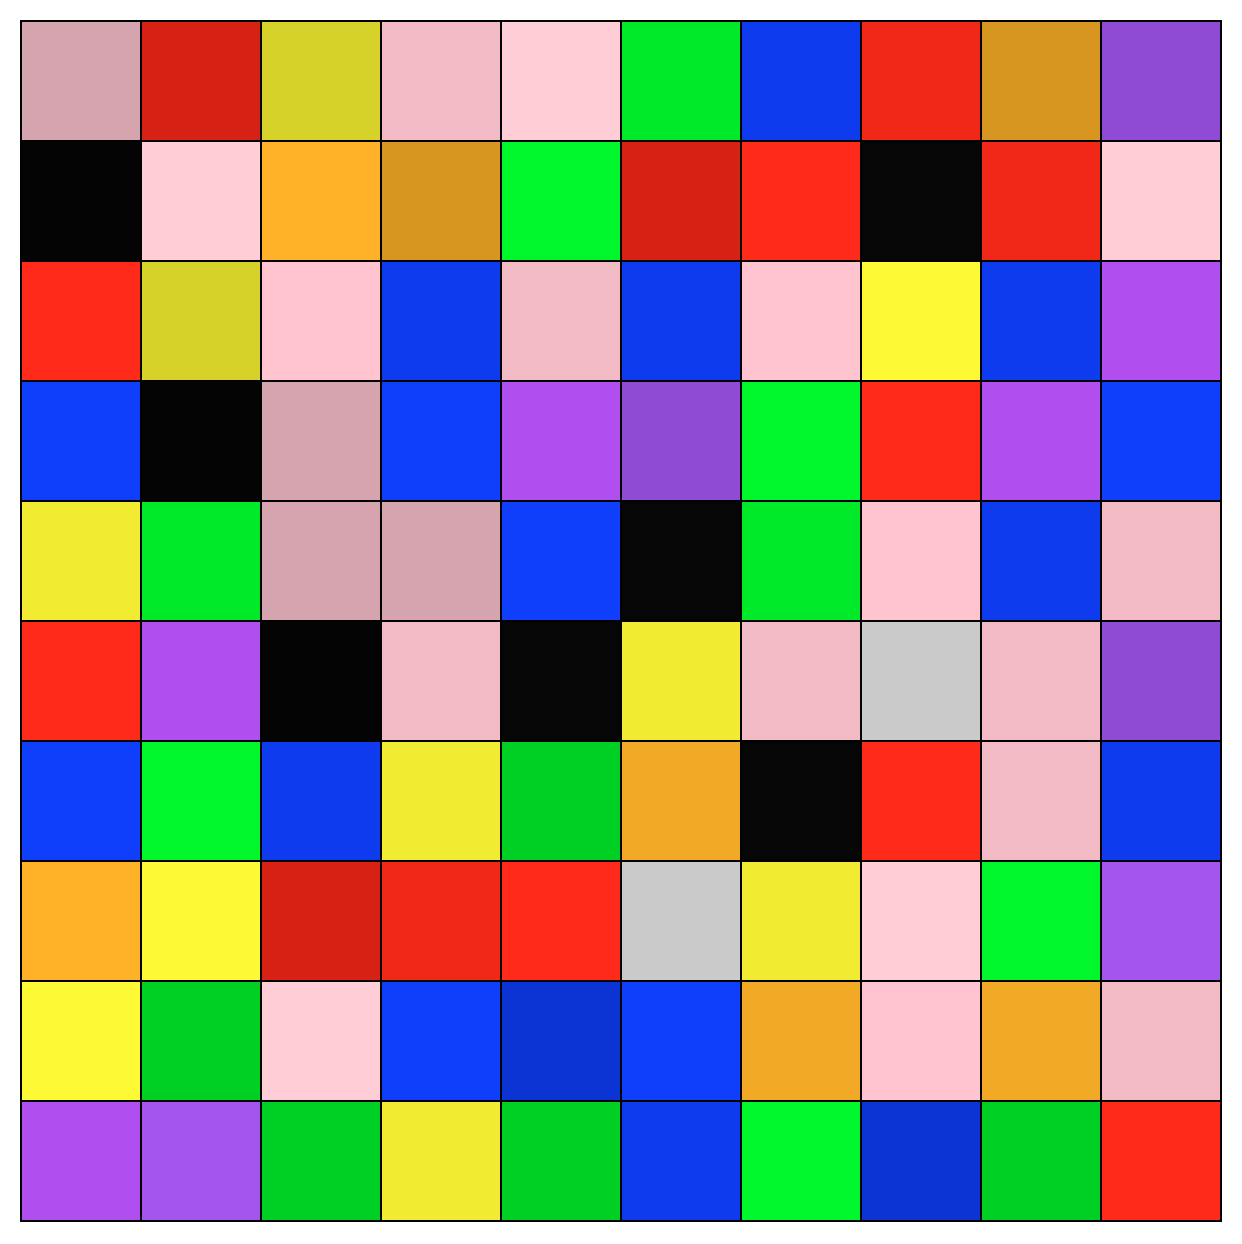
Remove the # from the beginning of the line starting with num_rows. Now your program should prompt the user for two values before opening the graphical window.
Here is pseudocode for the grid. Most of the inner loop can be copied from your previous program.
for r in range(num_rows):
       # For each row, set the y-value of the top-left point of the ROW.
       # When r is 0, y should be top_left_y.
       # When r is 1 (the second time through the loop), y is top_left_y + height.
       # When r is 2, y is top_left_y + 2 * height; when r is 3, it is top_left_y + 3 * height...
       y = # formula based on top_left_y, height, and i

       for i in range(num_columns):
           # Calculate x-coordinate of the top left point of the current square.

           top_left_point = Point(x, y)
           bottom_right_point = Point(x + width, y + height)

           # Create a square using top_left_point and bottom_right_point

           # Fill the square with a random color

           # Draw the square in the window
Test your code multiple times, and be sure it draws a grid of randomly colored squares each time. The number of squares in each row and column should be the numbers specified by the user.
Once you are done, demo your code and continue to Part C.